How to Make Your Own Bulletin Board Letters

Being the daughter of a teacher meant always having to stay after school to help your mom with #alltheschoolthings. Stapling papers, sorting class work, sharpening the pencils.

The teacher-daughter job I remember the most vividly was tracing my mom’s master letters (which were letters in funky designs cut on tag board), on a variety of construction paper, laminating, and CUTTING.

Man! How I despised the cutting. Welp, here I am. A grown adult. A teacher myself. Cutting out letters with funky designs.

And I’m loving every minute of it. 

Here are a few titles I have made for my bulletin boards:
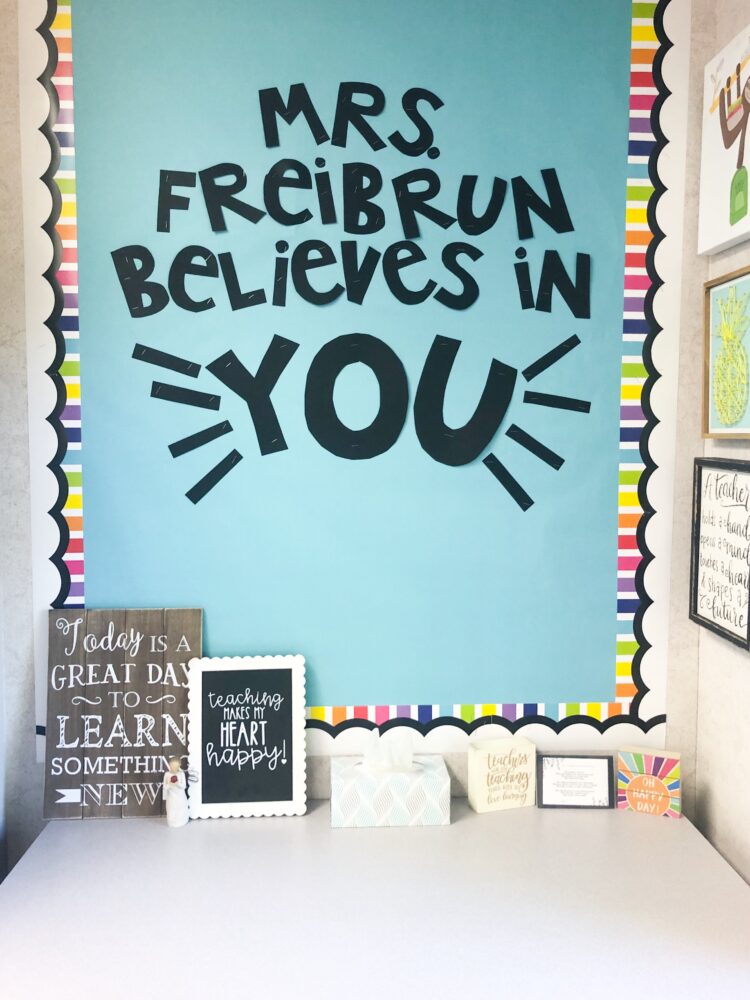
 

We’ve come a long way from my mom’s font designs, and the die-cut machine with boring, run-of-the-mill letters.

But, I am still cutting out my own letters. In today’s world, we’ve been able to knock out one step…the tracing!

Here’s how you can get your most beloved fonts on your bulletin board wall:

1. Pick your favorite font(s).

You may think this is the easy part, but for me, it’s the hardest. There are so many fonts to choose from! KG Fonts, Hello Fonts, Cupcake Fonts, MTF Fonts…the list goes on.

2. Use your preferred program to type out the letters.

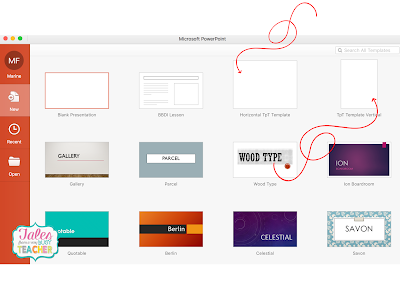
I like using PowerPoint for all of my documents. So, after I’ve chosen my font I type out the letters that I want for my bulletin board. I like PowerPoint because (in my opinion) it’s the easiest program to use when using text boxes. I can format my letters more easily so I can fit more on a page.

3. Start typing and sizing.

Make sure you size your letters correctly. If you want them big, up the size. If you need them smaller, try to fit more on a page. You can use a vertical template or a horizontal template to utilize larger size fonts or smaller size fonts.
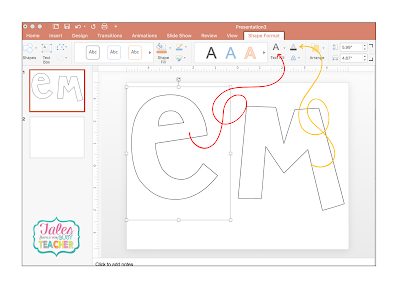
Make sure you make the “fill” of the letter white or “no fill,” and make the outline of the letter black. This is what takes place of the tracing because only the outline will appear when you print.
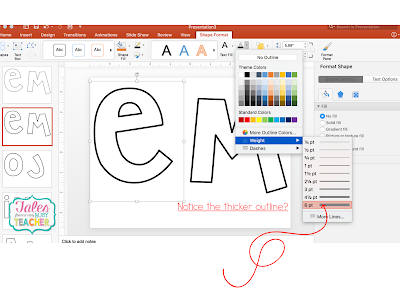
You can even make the outline of the letter thicker, so you can add a black line to your bulletin board title (see an example below).

4. Choose your colored paper and print.

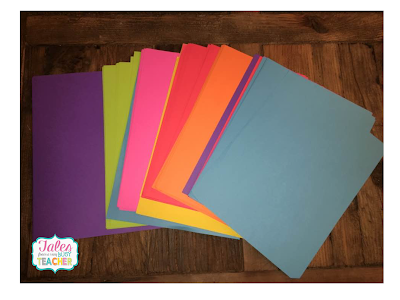
I love using Astrobrights for my paper! If you want black letters, you’ll have to add in another step. You can print your letters from your computer on white paper. Then take black construction paper (cut down to size) and copy the letters from the white paper onto the black construction paper from a copy machine. You can also print out the letters in a black fill from your printer. But that takes a lot of ink!

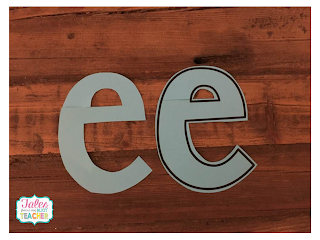
5. Cut them out! (so much fun!)

You can laminate for durability too. I would laminate before cutting, and then cut one time when the paper is laminated. Less cutting, remember?
I love creating fun and interactive bulletin boards. If you’re looking for more ideas, check out my favorite bulletin boards for the elementary classroom.
For even more teaching ideas, subscribe here!

Marine

All posts
×